最近安了ubuntu 22.04版本的虚拟机,想用于做ROS和docker的爬虫,这次的编辑器我只选择了vim,其中设置颇费了一阵时间。现在就记录一下过程,帮助大家避坑
目录
一、Vim的安装
二、Vim的基础设置
三、Vim插件安装
四、安装自动补全插件youcompleteme
五、安装主题插件Solarized
六、 安装nerdtree,nerdcommenter与ctrlp
以下是我们安装过的所有插件
ubuntu 22.04版本和20年的版本安装和相关设置方式类似,这里不详解,感兴趣可以移步至:(1条消息) Ubuntu 20.04从安装到配置全套避坑指南_风起鸿庄的博客-CSDN博客_electron-ssr设置
我在这里着重介绍vim的设置
一、Vim的安装
首先在命令行内输入vim,看一下系统有没有自动安装vim,如果已经安装可以跳过这步
如果未安装,输入以下命令:
sudo apt-get install vim vim-scripts vim-doc
#安装vim图形化界面,也可以只用命令行
sudo apt-get install vim-gtk
二、Vim的基础设置
首先进入vimrc配置文件:
sudo vim /etc/vim/vimrc当进入相关命令行后,敲击i键,进入insert模式
在此地

输入以下内容
 set nu           "在左侧行号
 set tabstop      "tab 长度设置为 4
 set nobackup     "覆盖文件时不备份
 set cursorline   "突出显示当前行
 set ruler        "在右下角显示光标位置的状态行
 set autoindent   "自动缩进
之后按esc退出编辑模式,:wq保存文件修改即可生效
三、Vim插件安装
我们这里需要安装Vundle,它是vim下的一款插件管理器
命令行输入:
sudo apt-get install git
git --version
git clone https://github.com/VundleVim/Vundle.vim.git ~/.vim/bundle/Vundle.vim
之后新建一个文件
cd ~
gedit .vimrc
输入以下信息
set nocompatible " be iMproved, required
filetype off " required
" set the runtime path to include Vundle and initialize
set rtp+=~/.vim/bundle/Vundle.vim
call vundle#begin()
" alternatively, pass a path where Vundle should install plugins
"call vundle#begin('~/some/path/here')
" let Vundle manage Vundle, required
Plugin 'VundleVim/Vundle.vim'
" The following are examples of different formats supported.
" Keep Plugin commands between vundle#begin/end.
" plugin on GitHub repo
Plugin 'tpope/vim-fugitive'
" plugin from http://vim-scripts.org/vim/scripts.html
" Plugin 'L9'
" Git plugin not hosted on GitHub
Plugin 'git://git.wincent.com/command-t.git'
" git repos on your local machine (i.e. when working on your own plugin)
" The sparkup vim script is in a subdirectory of this repo called vim.
" Pass the path to set the runtimepath properly.
Plugin 'rstacruz/sparkup', {'rtp': 'vim/'}
" Install L9 and avoid a Naming conflict if you've already installed a
" different version somewhere else.
" Plugin 'ascenator/L9', {'name': 'newL9'}
" All of your Plugins must be added before the following line
call vundle#end() " required
filetype plugin indent on " required
" To ignore plugin indent changes, instead use:
"filetype plugin on
"
" Brief help
" :PluginList - lists configured plugins
" :PluginInstall - installs plugins; append `!` to update or just :PluginUpdate
" :PluginSearch foo - searches for foo; append `!` to refresh local cache
" :PluginClean - confirms removal of unused plugins; append `!` to auto-approve removal
"
" see :h vundle for more details or wiki for FAQ
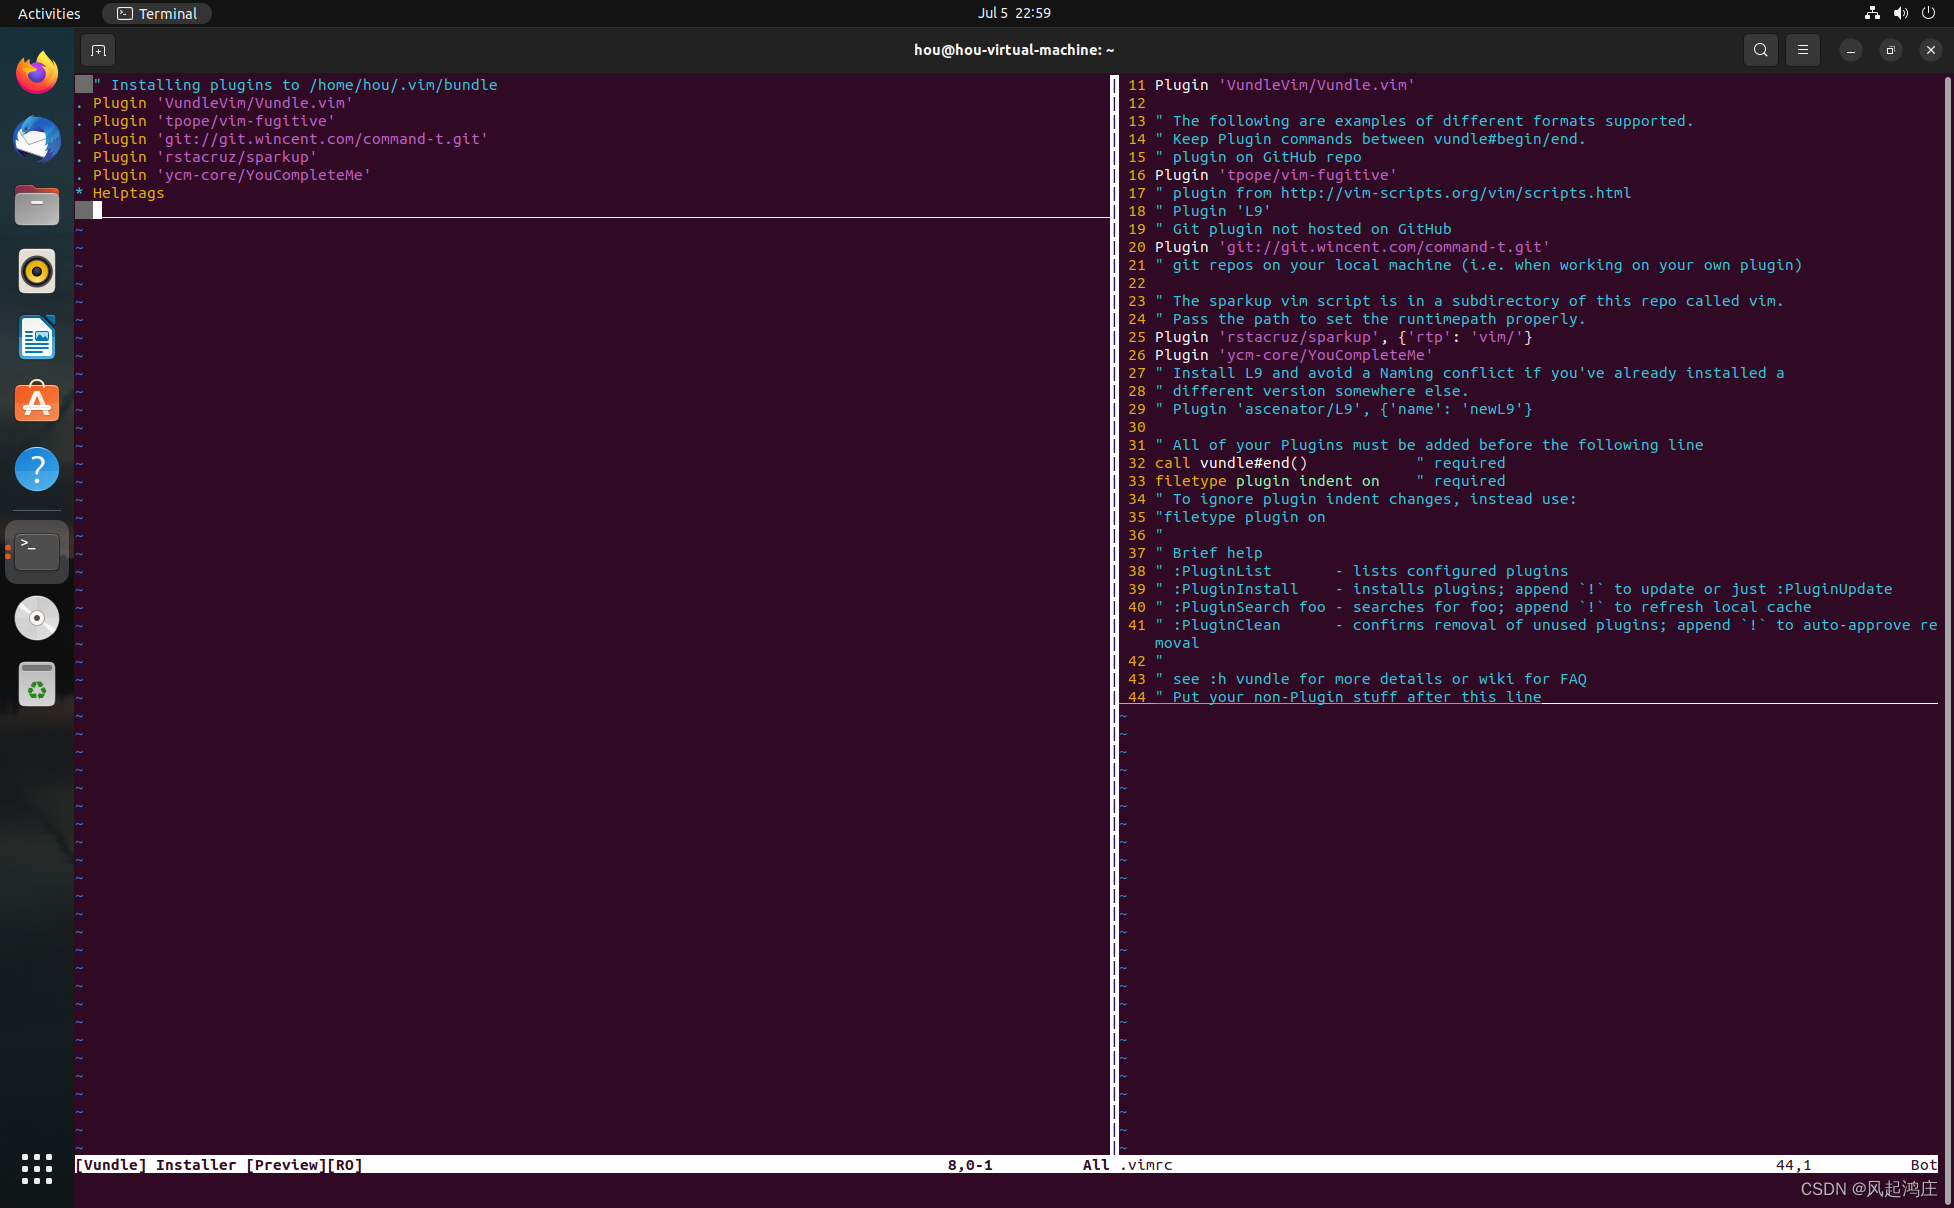
" Put your non-Plugin stuff after this line按:wq保存设置,后再打开此文件,输入
:PluginInstall看到done的字样,即为成功
四、安装自动补全插件youcompleteme
已知我们上面已安装git,还需要安装cmake
sudo apt install cmake

sudo apt-get install cmake-qt-gui
一定要看路径!否则你会后悔的:)
比如说我就把cmake安装在了youcompleteme的文件夹里,以后万一忘了就不好办了,所以不要学我。
在call vundle#begin和call vundle#end()中间加入
Plugin ‘VundleVim/YouCompleteMe’之后打开vim界面,输入:PluginInstall,
这些就是已经安装过的插件了
输入:exit即可退出
五、安装主题插件Solarized
cd ~/.vim/bundle
git clone https://github.com/altercation/vim-colors-solarized.git
#上面这条命令不好使,就换成
git clone git://github.com/altercation/vim-colors-solarized.git
就是http方式和ssh方式换着来
然后在.vimrc文件中的call vundle#begin和call vundle#end()中间加入
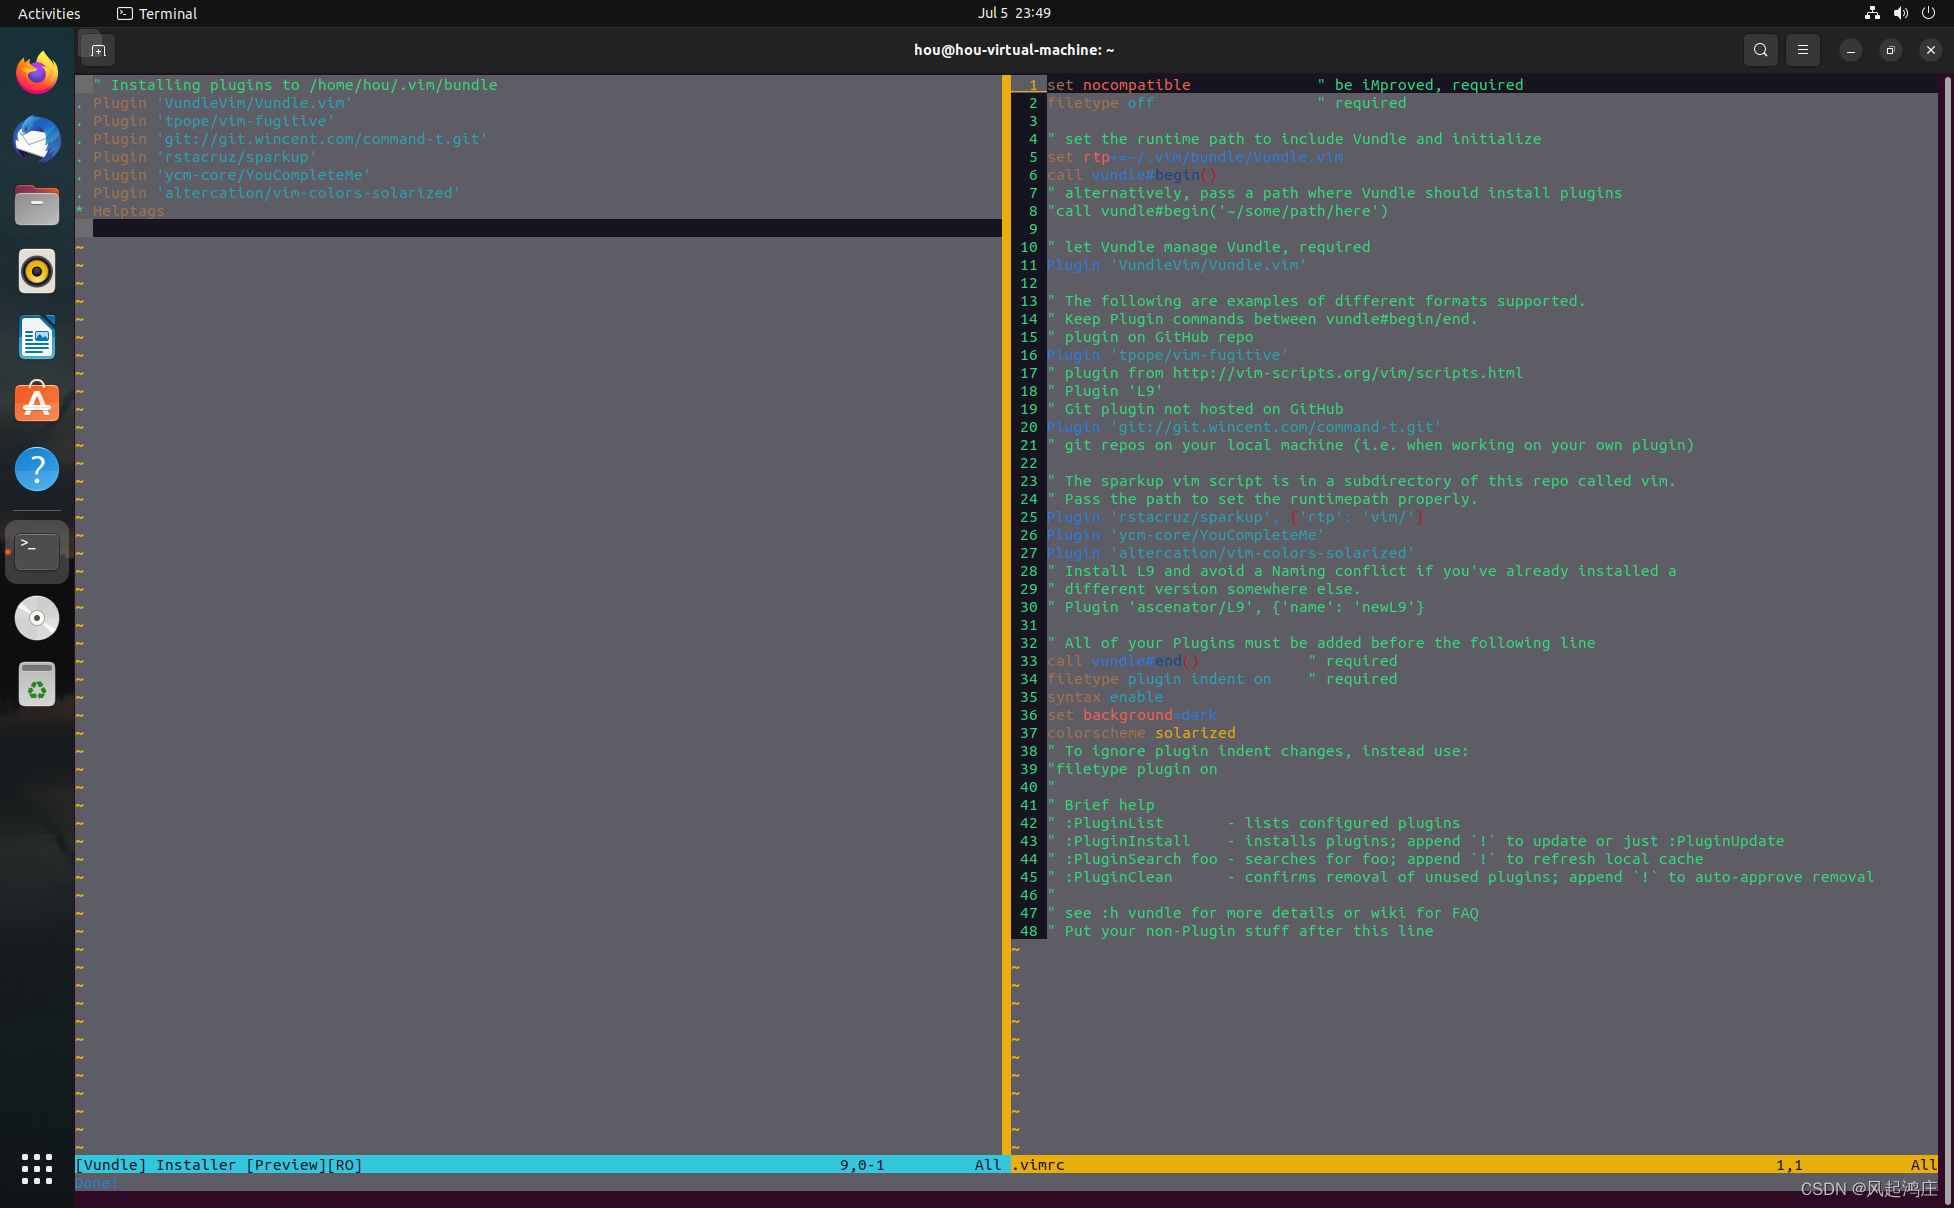
Plugin 'altercation/vim-colors-solarized'在filetype plugin indent on 后面加入
syntax enable
set background=dark
colorscheme solarized
最终效果为:
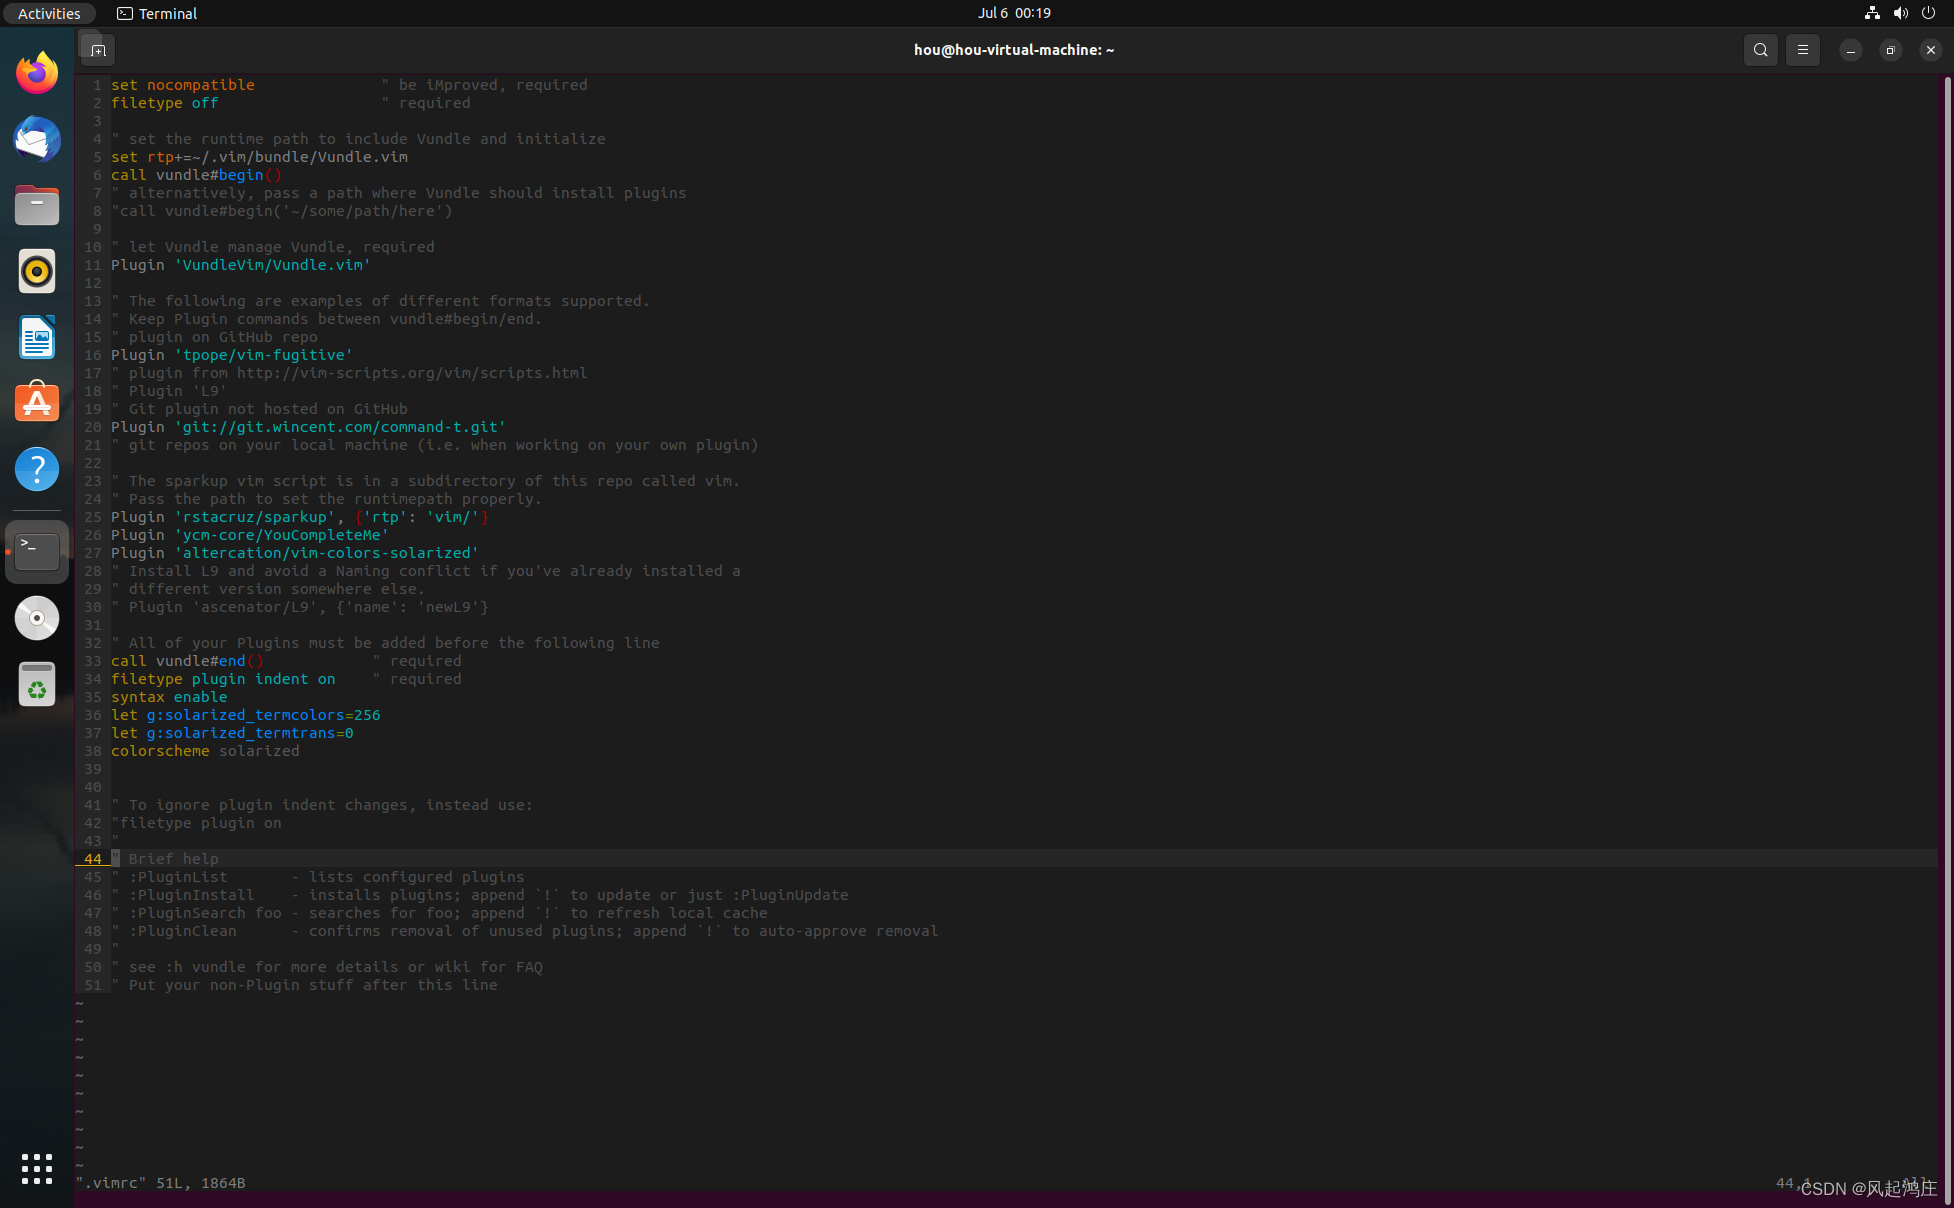
如果想设置GUI和终端模式下具有不同的背景,输入
if has('gui_running')
    set background=light
else
    set background=dark
endif
如果想使用终端的颜色,可以输入
let g:solarized_termcolors=256
let g:solarized_termtrans=0
这个是相关的界面 ,当然也可以改回来
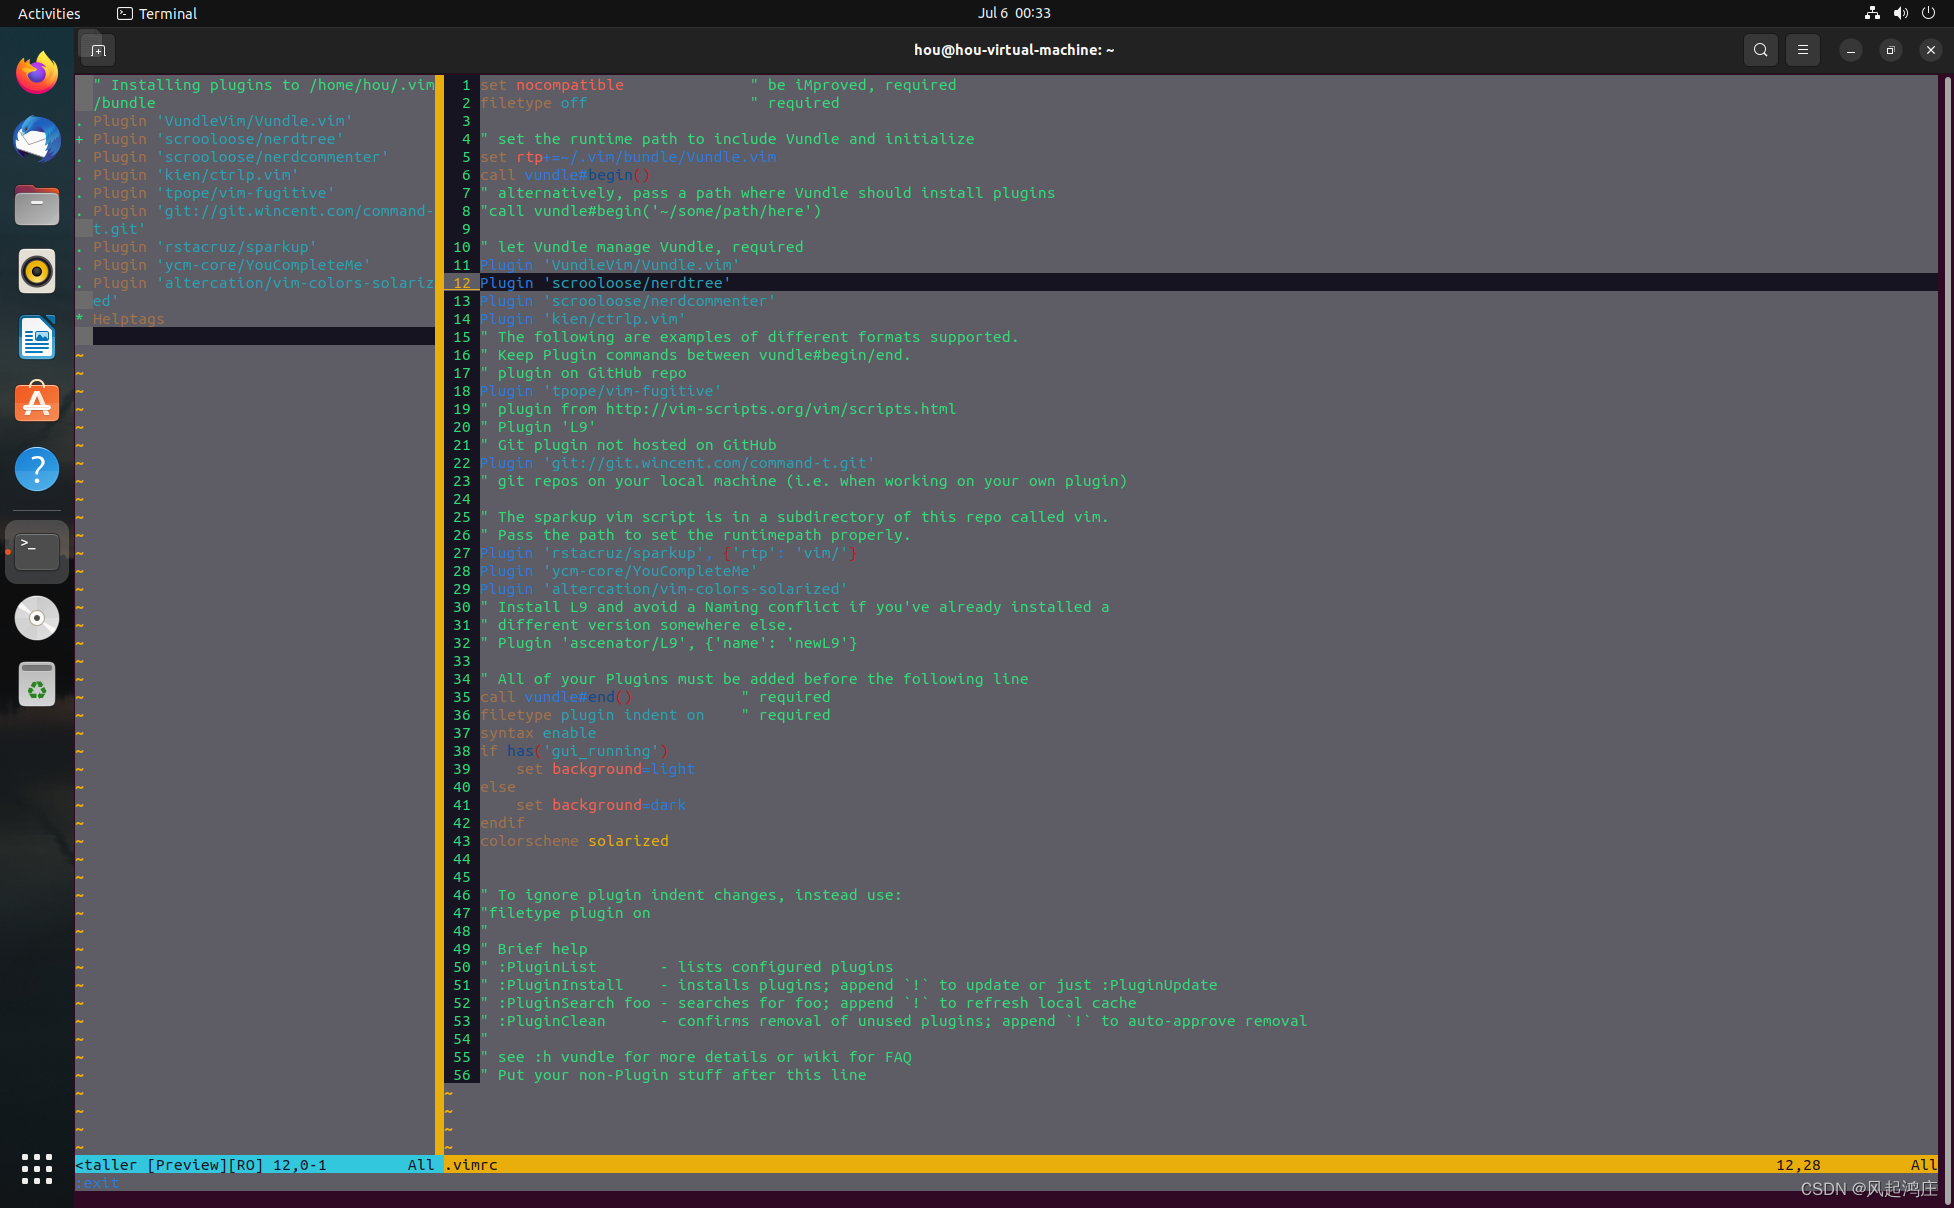
六、 安装nerdtree,nerdcommenter与ctrlp
在.vimrc文件中的call vundle#begin和call vundle#end()中间加入
Plugin 'scrooloose/nerdtree'
Plugin 'scrooloose/nerdcommenter'
Plugin 'kien/ctrlp.vim'之后vim内命令输入:PluginInstall
等到底下的done出来,大功告成
以下是我们安装过的所有插件